Showing posts with label doll experiments. Show all posts

Wednesday, 27 June 2012

Doll Paint Adventure 2

Hellu!

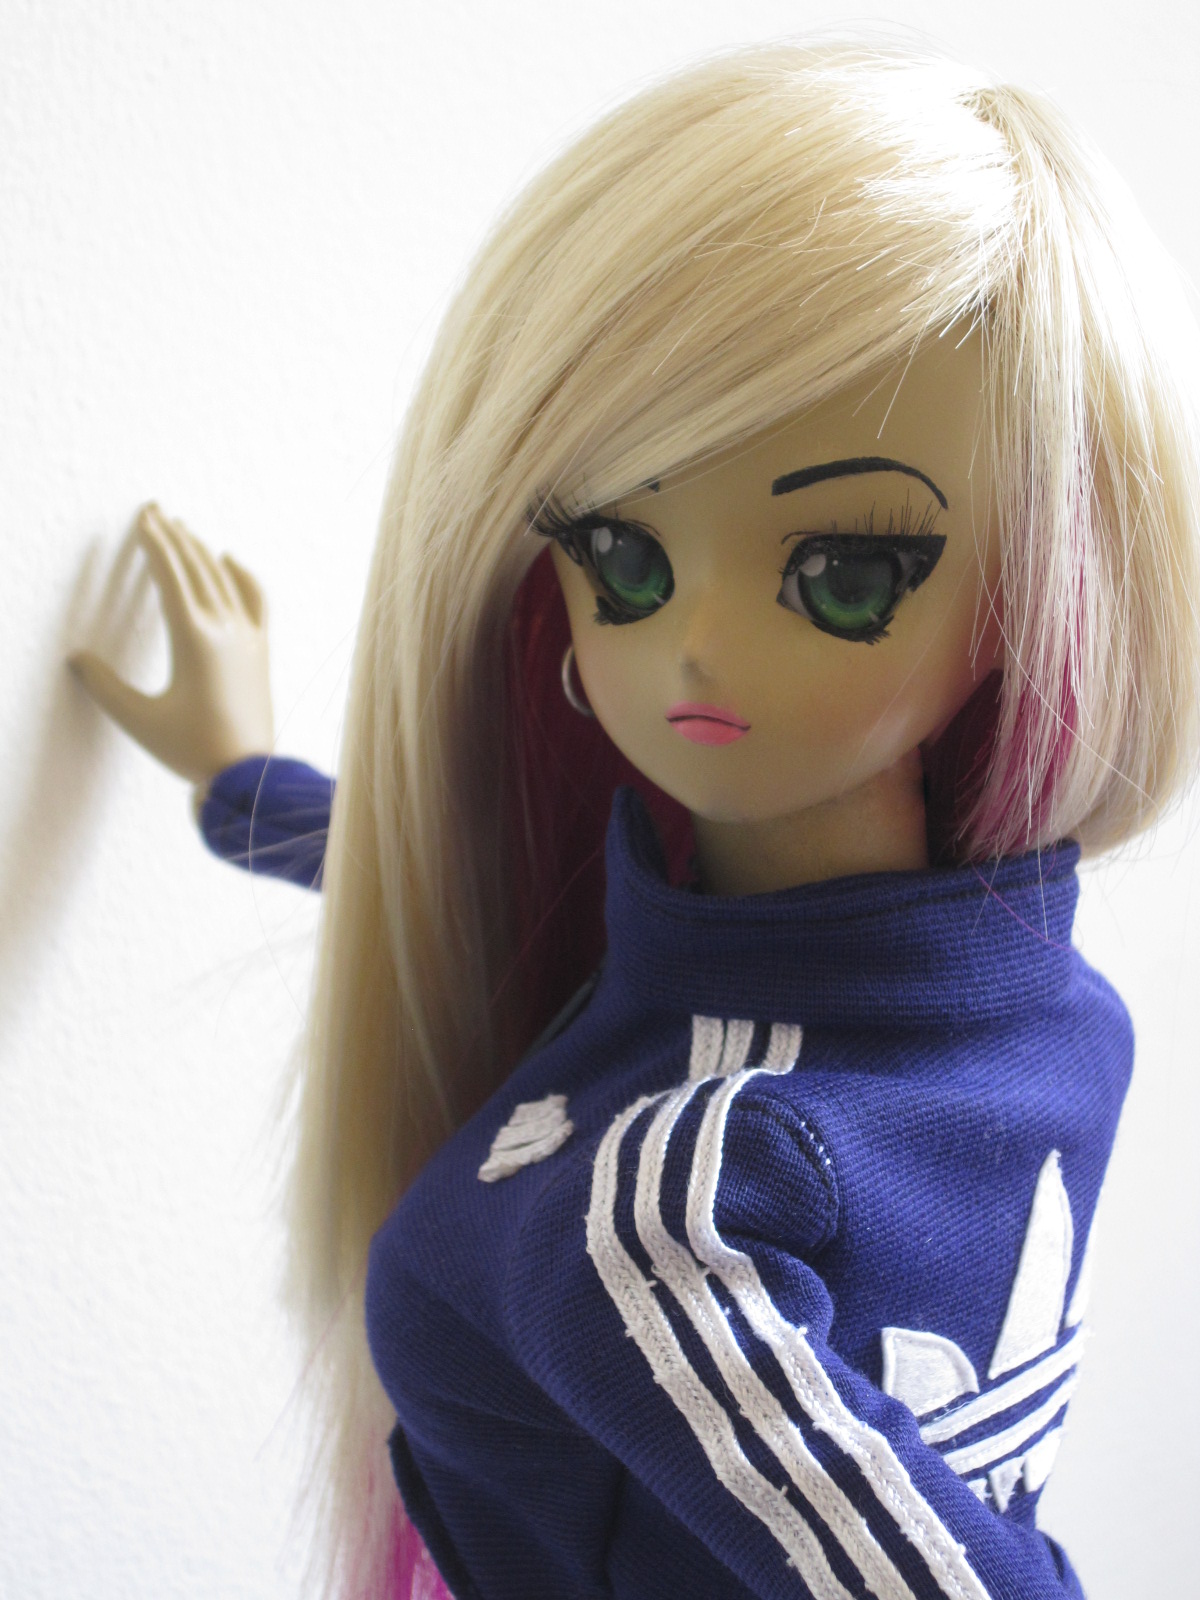
So as you all know, Tai (my Dollfie Dream) was spray painted to be tan skin. I used Tamiya spray paint in tan colour and I was really pleased with the colour. Unfortunately I didn't let the primer and main coat dry long enough so the paint ended up sticky and Tai ended up with the nickname "Sticky"

(Tai's sticky body)

After visiting a hobby shop for counsel, one of the paint experts told me that she could be saved and that I would have to sand the sticky parts off, reprime and paint the body. I got the needed supplies and finished the procedure but looking at the time from then until Doll north (it was about 4 weeks away) I knew the body would not be dry on time.

(Body pieces after priming)

(A few body parts drying after main coat)

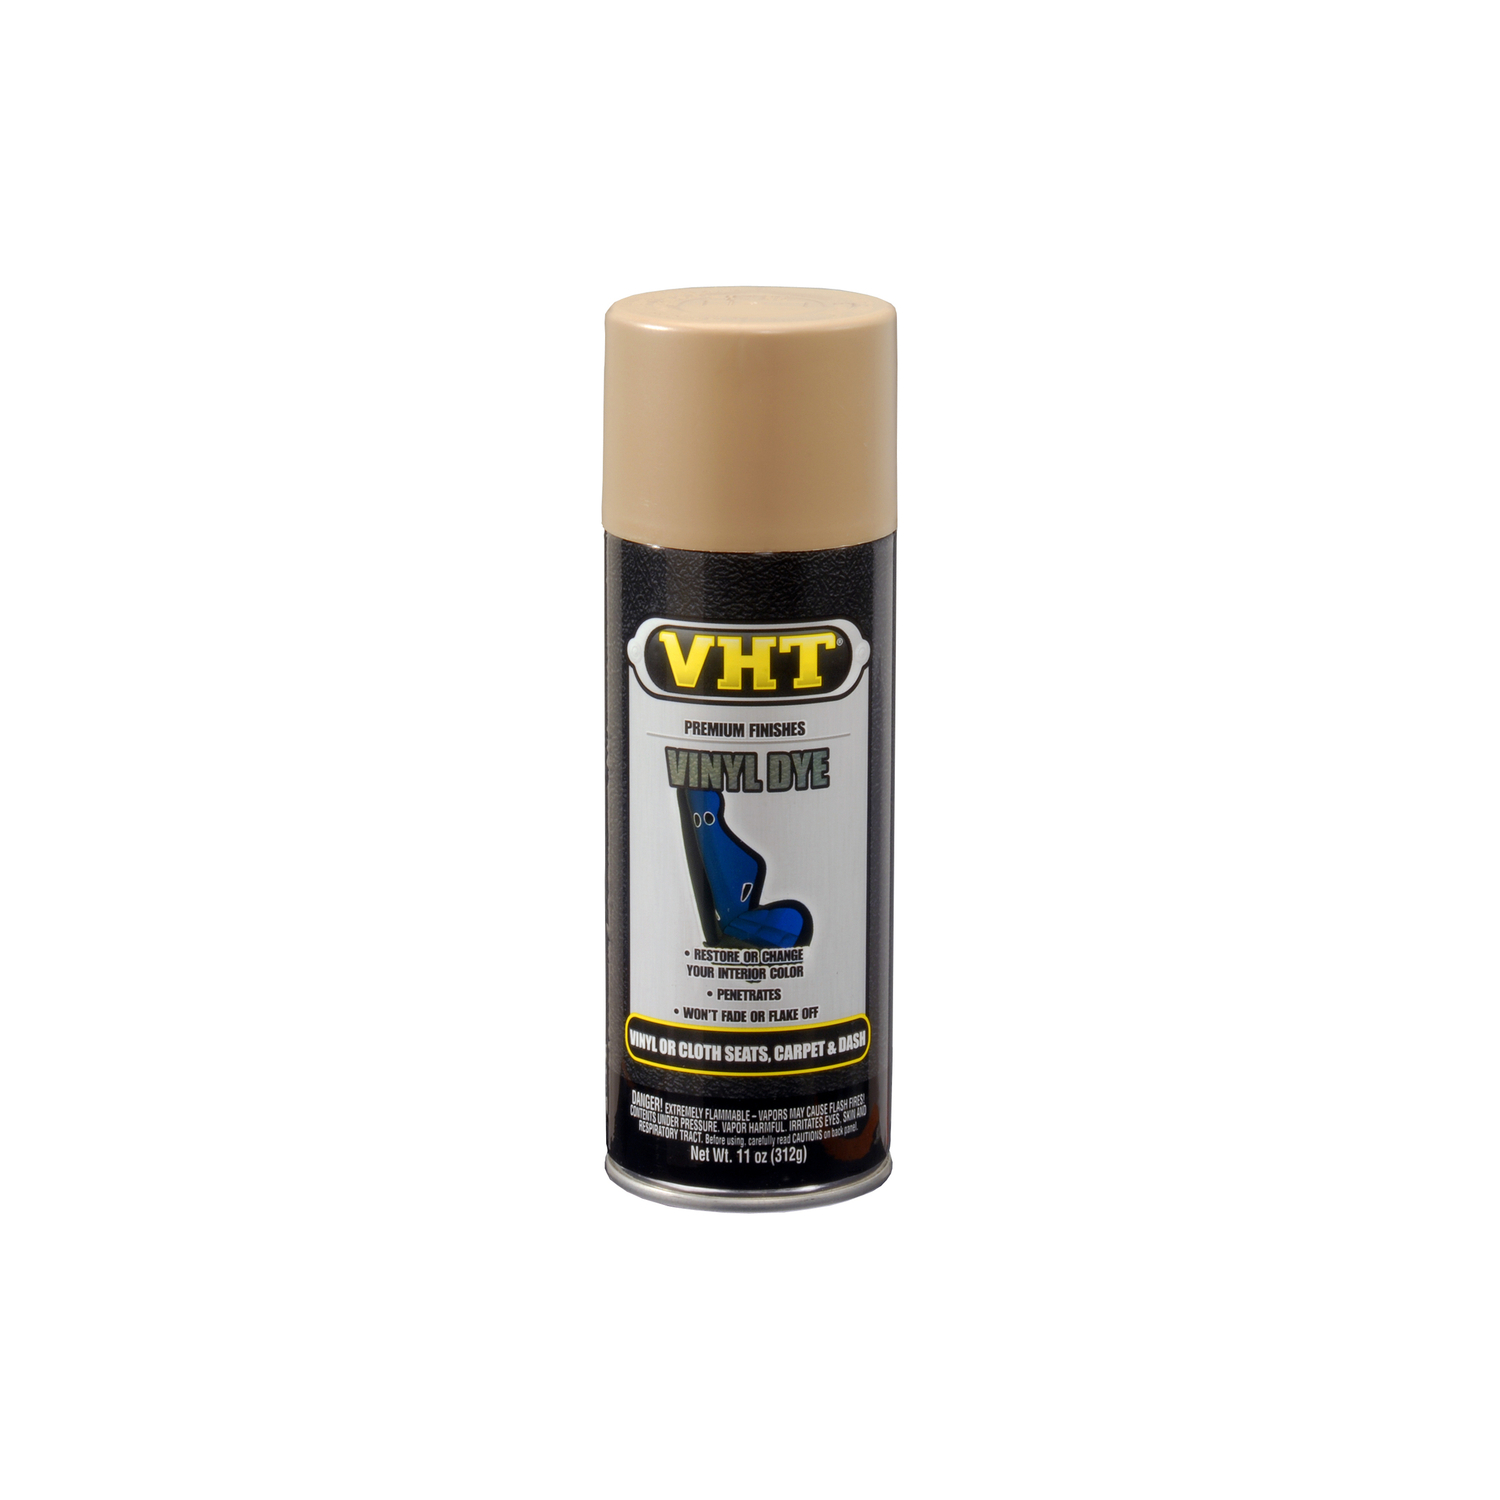
Tai held up at Doll North for the most part but she got a few marks and her clothes started sticking again. I knew that her paint job would need to be repaired so I let it slide. After the convention I was going to repair her but I got busy as usual so the poor thing was sitting there for a while. After I got Shiera (Iplehouse Cocori) and the rit dye process went well, I wondered if I could do the same with Tai. I recalled seeing someone who dyed their Dollfie Dream and it seemed to work. I'm also getting interested in this VHT vinyl dye that I have been reading about so I'm not sure which route to take.. 
Either way I thought I'd see if I could get Tai's multi-layered body completely paint free. For anyone wondering, it works! All I needed was some Windsor and Newton brush cleaner (not much) , a few spoonges and some time. She is completely cleaned and normal skin again. I was sad to wipe her face, especially since it was the only part to completely dry..

(Haneino Tsukiko 's dyed Dollfie Dream Karomie)

(Tai's primed, painted, and primed again bust piece after being wiped)

(Tai after being cleaned and Shiera)

(VHT vinyl dye)

My future plans for Tai involve her bring tan again and I'd like to continue her character development into a gyaru (either B-Gal or Bibinba). So far she has her wig and a few gold accessories. I'd like her face up to look something like this minus the piercings:

(Tai's possible new look)

Not sure how long Tai will stay normal skin since my work schedule is crazy and Michael's arts and crafts is a couple hours away from home.
Until next time!

-K


Saturday, 23 June 2012

Doll Dying Update

Hey everybody!

As you know I recently dyed my Iplehouse Cocori (which I now renamed Shiera) cocoa brown. I gave her a face up which I thought was alright but a little dark. I wasn't sure if I could remove the face up without removing the dye so I let it be for a few days. Here's how she first looked:

(Shiera's first official face up)

As you can see it's pretty dark around the nose and eye area as I rubbed off a mistake and it made a light patch. I tried to cover it up but it turned out pretty noticeable. I also heavily applied black eye-shadow which looked okay but I'm not sure if it's right for her character.

After a few days of wondering, I recalled that rubbing alcohol could remove the face up supposedly without removing the dye. With a q-tip, I tried a bit inside her head and it worked! After some scrubbing with added force, this how she looked with a bit of  make up removed. As you can see the pastels were really layered on as her undertone is very light.

(Face up slightly removed)

I liked her lip colour so I scrubbed around it which worked fine. After scrubbing for a while there were some stubborn areas like around the nose and forehead so I used a small piece of magic eraser and a bit of windor and newton. It works really well if you scrub lightly but be careful not to scrub too much because it will start to remove the dye. Here's her face wiped:

 (Shiera back to square one)

After a quick rinse in water, I began to redo the face up. Everything went well this time except I'm terrible at applying eyelashes so I'll have to send her out to get them done. Here's picture of the finished face up:

(Finished face up)

(Back on her body)

One of the main reasons why I like gentle cocori is for her eyes and I felt the first (well technically the second) face up attempt did not do her lovely eyes any justice! I'm much happier with this one and now know that the face up can safely be removed.
Hope this helps, until next time!

-K

Sunday, 17 June 2012

Doll Dying Adventure 1

Hello again!

Today I set out on an adventure to dye my Iplehouse Gentle Cocori tan. To learn how to dye a doll, I read the doll dye thread on DOA and got the basic understanding of the steps and materials required. Yesterday I bought 3 boxes of Rit fabric dye (two tan and one cocoa brown) as I was hoping to mix some tan and brown for a nice tan colour. I got the dollar store version of Mr.Clean magic eraser as I heard that one works better and some rope to hang the pieces.

(Rit dye, magic erasers and cotton rope)

I began the process by unstringing and scrubbing down the doll. Once I was done I put the pieces in water and strung each piece with the cotton rope. After stringing the pieces I put a pot of water on to boil and once it was hot I added the dye and mixed with a wooden spoon.

(Doll pieces in water strung with cotton rope)

(Tan Rit dye bath)

When the water came to a slight boil, I turn it down a bit and gave it a quick stir. I decided to dip a pieces that you wouldn't see on the outside of the doll. Unfortunately the tan dye was expired so I got the nasty faded blue colour. I dumped the dye and tried the other pack of tan dye and got the same result. It was so disappointing!

(Getting ready to submerge the first piece)

(Unfortunate outcome of both tan dye packs)

Feeling a bit discouraged, I wanted to try my last package of Rit dye which is cocoa brown. Followed the same steps, dipped the same piece and this time I got some colour! I continued to dip the rest of the pieces for about 2 or 3 quick dips each and I got a chocolate milk colour which I love.

(First successful dyed piece)

(Cocori head fresh out the pot compared to her NS head cap)

After I dipped each piece, I dipped them in a bucket of water to get off the excess dye. Before I hung them to dry I used the magic eraser to brush off some grainy dye residue which caused dark little spots. After the brushing I hung them to dry on my clothing rack.

(Doll pieces drying on clothing rack)

The pieces are pretty much all dyed now but I'll leave them over night and coat them with MSC in the morning. Here's a picture of Cocori's head all nice and dry.

(Cocori head dry compared to NS head cap)

That's the end of my crazy Rit dye experience. I'd say I'm please with the outcome and the only challenge was dying the torso pieces since my pot wasn't that deep and there was some dye sitting on the bottom that made a blotch on her lower back (which I will make into a tramp stamp lol). Otherwise the dye turned out nice and even! The only thing I would do differently is get a bigger pot next time!

I'll do her face up tomorrow and I've been meaning to post some doll meet photos which hopefully I'll get to do soon. Until next time!

-K

Wednesday, 13 June 2012

Grail doll #1 arrived!

Hello all,

I finally received one of my grail dolls yesterday, iplehouse Gentle Cocori! I was so happy when I saw that she arrived in Canada and was out of customs within a day. Surprisingly the brokerage fees were not bad and I got her in early morning (which rarely happens).

When I opened her, I was surprised to see she came with a soft doll carrier. Make life easier for me as I don't have to squeeze my two girls in the coffin carrier (I think it's possible though, we'll see once Reily makes it here). Inside the carrier she was wrapped in two pillows and bubble wrap. After releasing her from the carrier, I immediately brought her to my sewing room to see what she could wear in the mean time. She's borrowing a shirt and pants from Tai (surprisingly they find with some little adjustments).

(Tai and Raven's first meet)

(Raven and Tai)

 I usually make my doll wigs but I saw a nice wine coloured one at Anime North and decided to buy it for a doll so I tried it on. Not too sure how I like it with her so I'll be making a new one today or later this week. Here's a few pictures on her trying on Tai's wigs.

(Raven as Brunette)

 (Raven as Blonde)
(Tai trying on wine wig, not too bad)

I was having fun attempting a face up but sadly I had to work last night. I didn't get too far with it and I definitely need more practice. Some how I found it easier to paint Tai's face, Raven's requires more details. Anyhow, here's was a came up with in a short amount of time, most likely its going to change.


In other news, I went to a local doll meet on Sunday and I shall be posting the pictures in a later post. Until next time!

-K

Sunday, 10 June 2012

Here we go! #1

Hey, Kai here!

So I've had blogs in the past.. Trials and failures.. I'm taking a stab at this (again) with a nice clean slate. I'm going to try to write here at least once a week, one step at a time!

So let's get down to business, I've been interested in the doll hobby for a year now. I was introduced in April of 2011 while watching an episode of Danny Choo's "Culture Japan" where they had a visit to a doll factory. During most of his episodes he shows off his dolls in the background and I found myself being more interested in them. Since eight months of thinking about dolls, received my first doll part (head) in January of this year (2012) and the body in March. My first completed doll is a Dollfie Dreams from Volks. Her head is an HDD-02 and the body is a Dollfie Dream Dynamite (huge chest and derriere). I call her Tai Blüdhaven.

(HDD-02 head from Volks)

My second ordered doll is one of the dolls that I first saw while researching the hobby, Dollzone Cherry. I originally planed to order her later but Dollzone was discontinuing her along with some other dolls. I put her on three months layaway from April and now I have one more payment to go! I call her Reily Hamilton.

(Dollzone Cherry)

My third ordered doll ordered is the third doll I saw and fell in love with, Iplehouse YID Gentle Cocori. I never thought that I'd have a chance to get her since of the price and that Iplehouse discontinued the whole YID doll line. After a few weeks of being discontinued, Cocori and an other doll appeared back on the iplehouse website for sale (assuming some people cancelled their orders) in normal and white skin only. After searching the Den of Angel's market place for months for a tanned version of the doll, I bite the bullet and bought the last Gentle Cocori in normal skin two days ago. She's been shipped so I shall see her soon! I call her Raven Stone.

(Iplehouse Gentle Cocori)

Now for my blog name, BJD Alchemist. First is because I like to be creative. I make all my dolls clothes, wigs and accessories and only plan on letting myself buy shoes. Secondly I want to make by dolls unique with and plan to mod them. Lastly I just finished watch Fullmetal Alchemist and Brotherhood so I'm still riding that high lol! My first doll Tai has modded eye holes, pierced ears, a sanded down chin, a modded bust piece, a cut and sanded down nose and was spray painted to be tan. As my other dolls roll in, I'll reveal my plans for them. Until then, here's a few pictures of Tai after her mods.

-K