Showing posts with label vinyl dying. Show all posts

Monday, 8 September 2014

Doll Dying Adventure 3! A year and change!?

Hey guys!

Whoa its been a while eh!? Don't be mad, I come baring gifts! LOL well not really but I come with a story, those are always fun right?

First let me introduce you to Moku (Mokuren)! If you recall my Christmas list, I wanted an Sqlabs L-Ksg and I finally got her. Now if you recall that I call myself a Bjd Alchemist, I'll take you on my 3rd crazy dying adventure..


I started off with the usual, taking her apart. Now when doing so I saw this crazy top hip joint that I knew would be annoying to reassemble but otherwise no surprises.


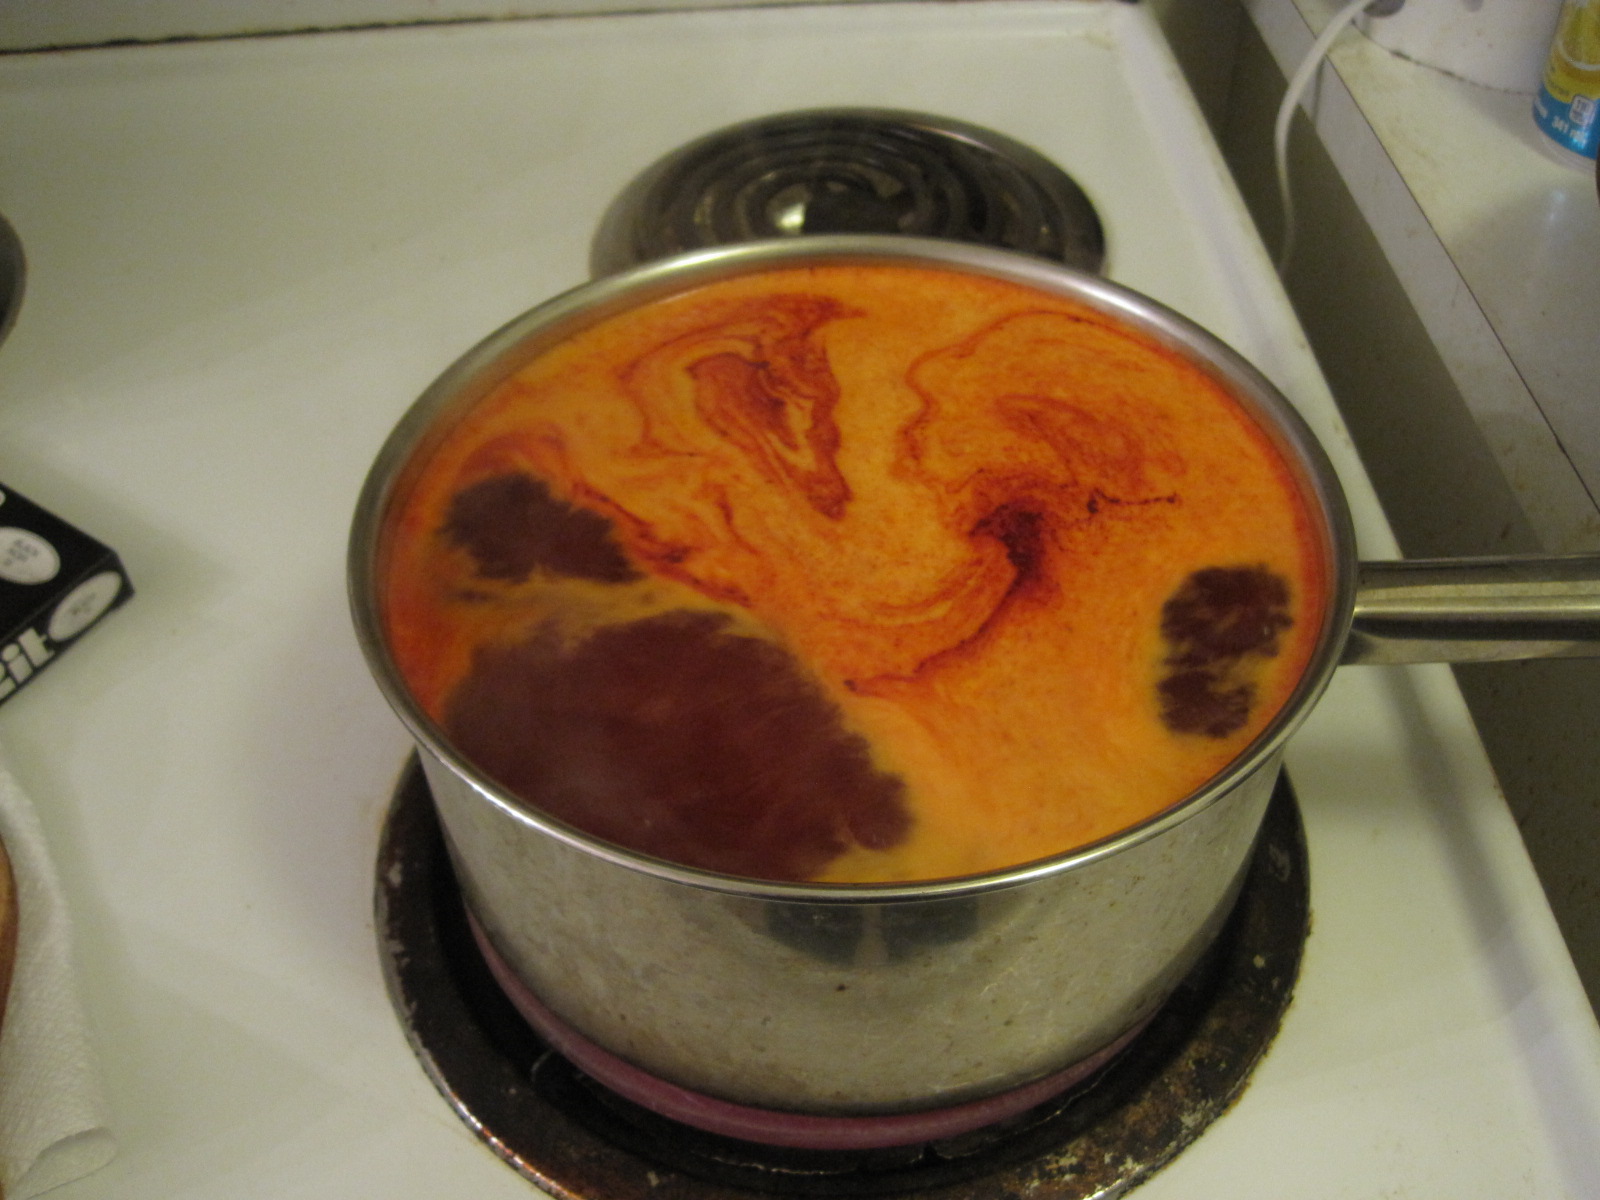
Once she was in pieces, I put cotton strings threw the pieces to help dunk them in dye. I had a small simmering pot in the background ready to go.


The pot was filled near the top with water (enough to submerge pieces). I used 1 teaspoon of Rit dye (powder). I personally had the best results with Rit dye power in cocoa brown.


The first drunk, I left the piece in for about 5 seconds then dunked it in cool water to remove any excess dye and cool it down. This was the result of the first dip. Afterwards I hung the pieces to dry on a clothing rack.


The next series of dips were about 5-8 seconds each. I did that about 3-5 times until I got my desired colour. Keep in mind that the dye will eventually fade. Shiera (Iplehouse Cocori) was also dyed cocoa brown and faded to a nice light tan colour. 


After all the pieces were dyed, they were all hanging on the clothing rack. Then when they're all dried (like 10 mins) I coated them in MSC. This helps the pieces all fade the same colour! When I dyed Tai (Dollfie dream) I didn't coat her body and only her face was coated for the face up so now her body has faded lighter then her face. Its not horrible but it is slightly noticeable. Its all good though, you live, you learn!


Here's a comparison of Moku's old colour to her new dyed colour. I though it wasn't dark enough at first.. Ha!


Here she is all put together. Man was that not fun!


What's next? I want to try to make her some Japanese styled slippers with Worbla.. Otherwise I don't know but I want to get back to doll meets.. I miss all the people and dollies! Until next time!

-K

Saturday, 23 February 2013

Doll Dying Adventure 2! Vinyl Dying

Hey guys,

So I finally have some good news.. and some bad news! The good news is that I had some spare change so I ordered the eyes that I envisioned for my girls. They have arrived and I've taken a few photos. Overall I love all of the colours, Shiera and Tai's eyes really suit them but I think I would have liked Reily's eyes to be brighter. Regardless I'm glad she can get out of those terrible pale and lifeless eyes.

Secondly I finally dyed Tai! She is permanently rit dyed a orange-brown and ohh boy was it an adventure! I suffered some burnt hands and dyed nails but I feel it was worth it. The bad news is that I accident broken parts from her armature in both arms soo she's temporarily an amputee, a very cute amputee <3

I'll definitely order her a new set in the future but until then I found a temporary way to keep her arms attached and so far its working out. A lesson well learned but at least I know now that the ball joints WILL dye and are not difficult to take. The only problems I encountered were some parts of the ball joints dyed faster then others so it took some effort to match the colours. An important rule while dying vinyl is to always keep the piece moving in the pot so it can get coated evenly and doesn't get burnt on the bottom.

Well that's it for now, who know what I'll be up to next ;)
-K

(Tai laying in pieces)

 (Colour combo choices)

 (Recipe I modded, used pack of orange and about 3 tea spoons black)

(Tai strung and ready to go) 

 (Boiling the dye)

 (Getting ready to dip hip joint test piece)

 (First dip for 5 seconds)

 (The dye took right away, colour difference)

 (Second dip an other 5 seconds)

 (Third dip 10 seconds)

 (Sadly a piece from the elbow ball joint snapped while I was trying to get it apart)

 (Different parts of the ball joint dye faster)

 (A bit of progress, had to redip to get similar colours)

(White skin L-Bust and normal skin dynamite bust still came out the same colour)

 (Here are the results and comparison to old colour headcap)

(Thought I'd give her a slightly different faceup)

 (Me working on Tai's eyes)

(Closer look at me working)

(Finished faceup and new eyes)


(Back in normal attire and wig, yay Tai!)


(Made a new dress for her)
 (Now Tai can be a true gyaru <3)

(Sexy Shiera and her new eyes posing with pepsi)

(An other sassy photo)

(Reily's new eyes)

(Reily just there lol)